Summer is right around the corner! You and your family are ready to enjoy sun-filled summer days relaxing out on the deck.
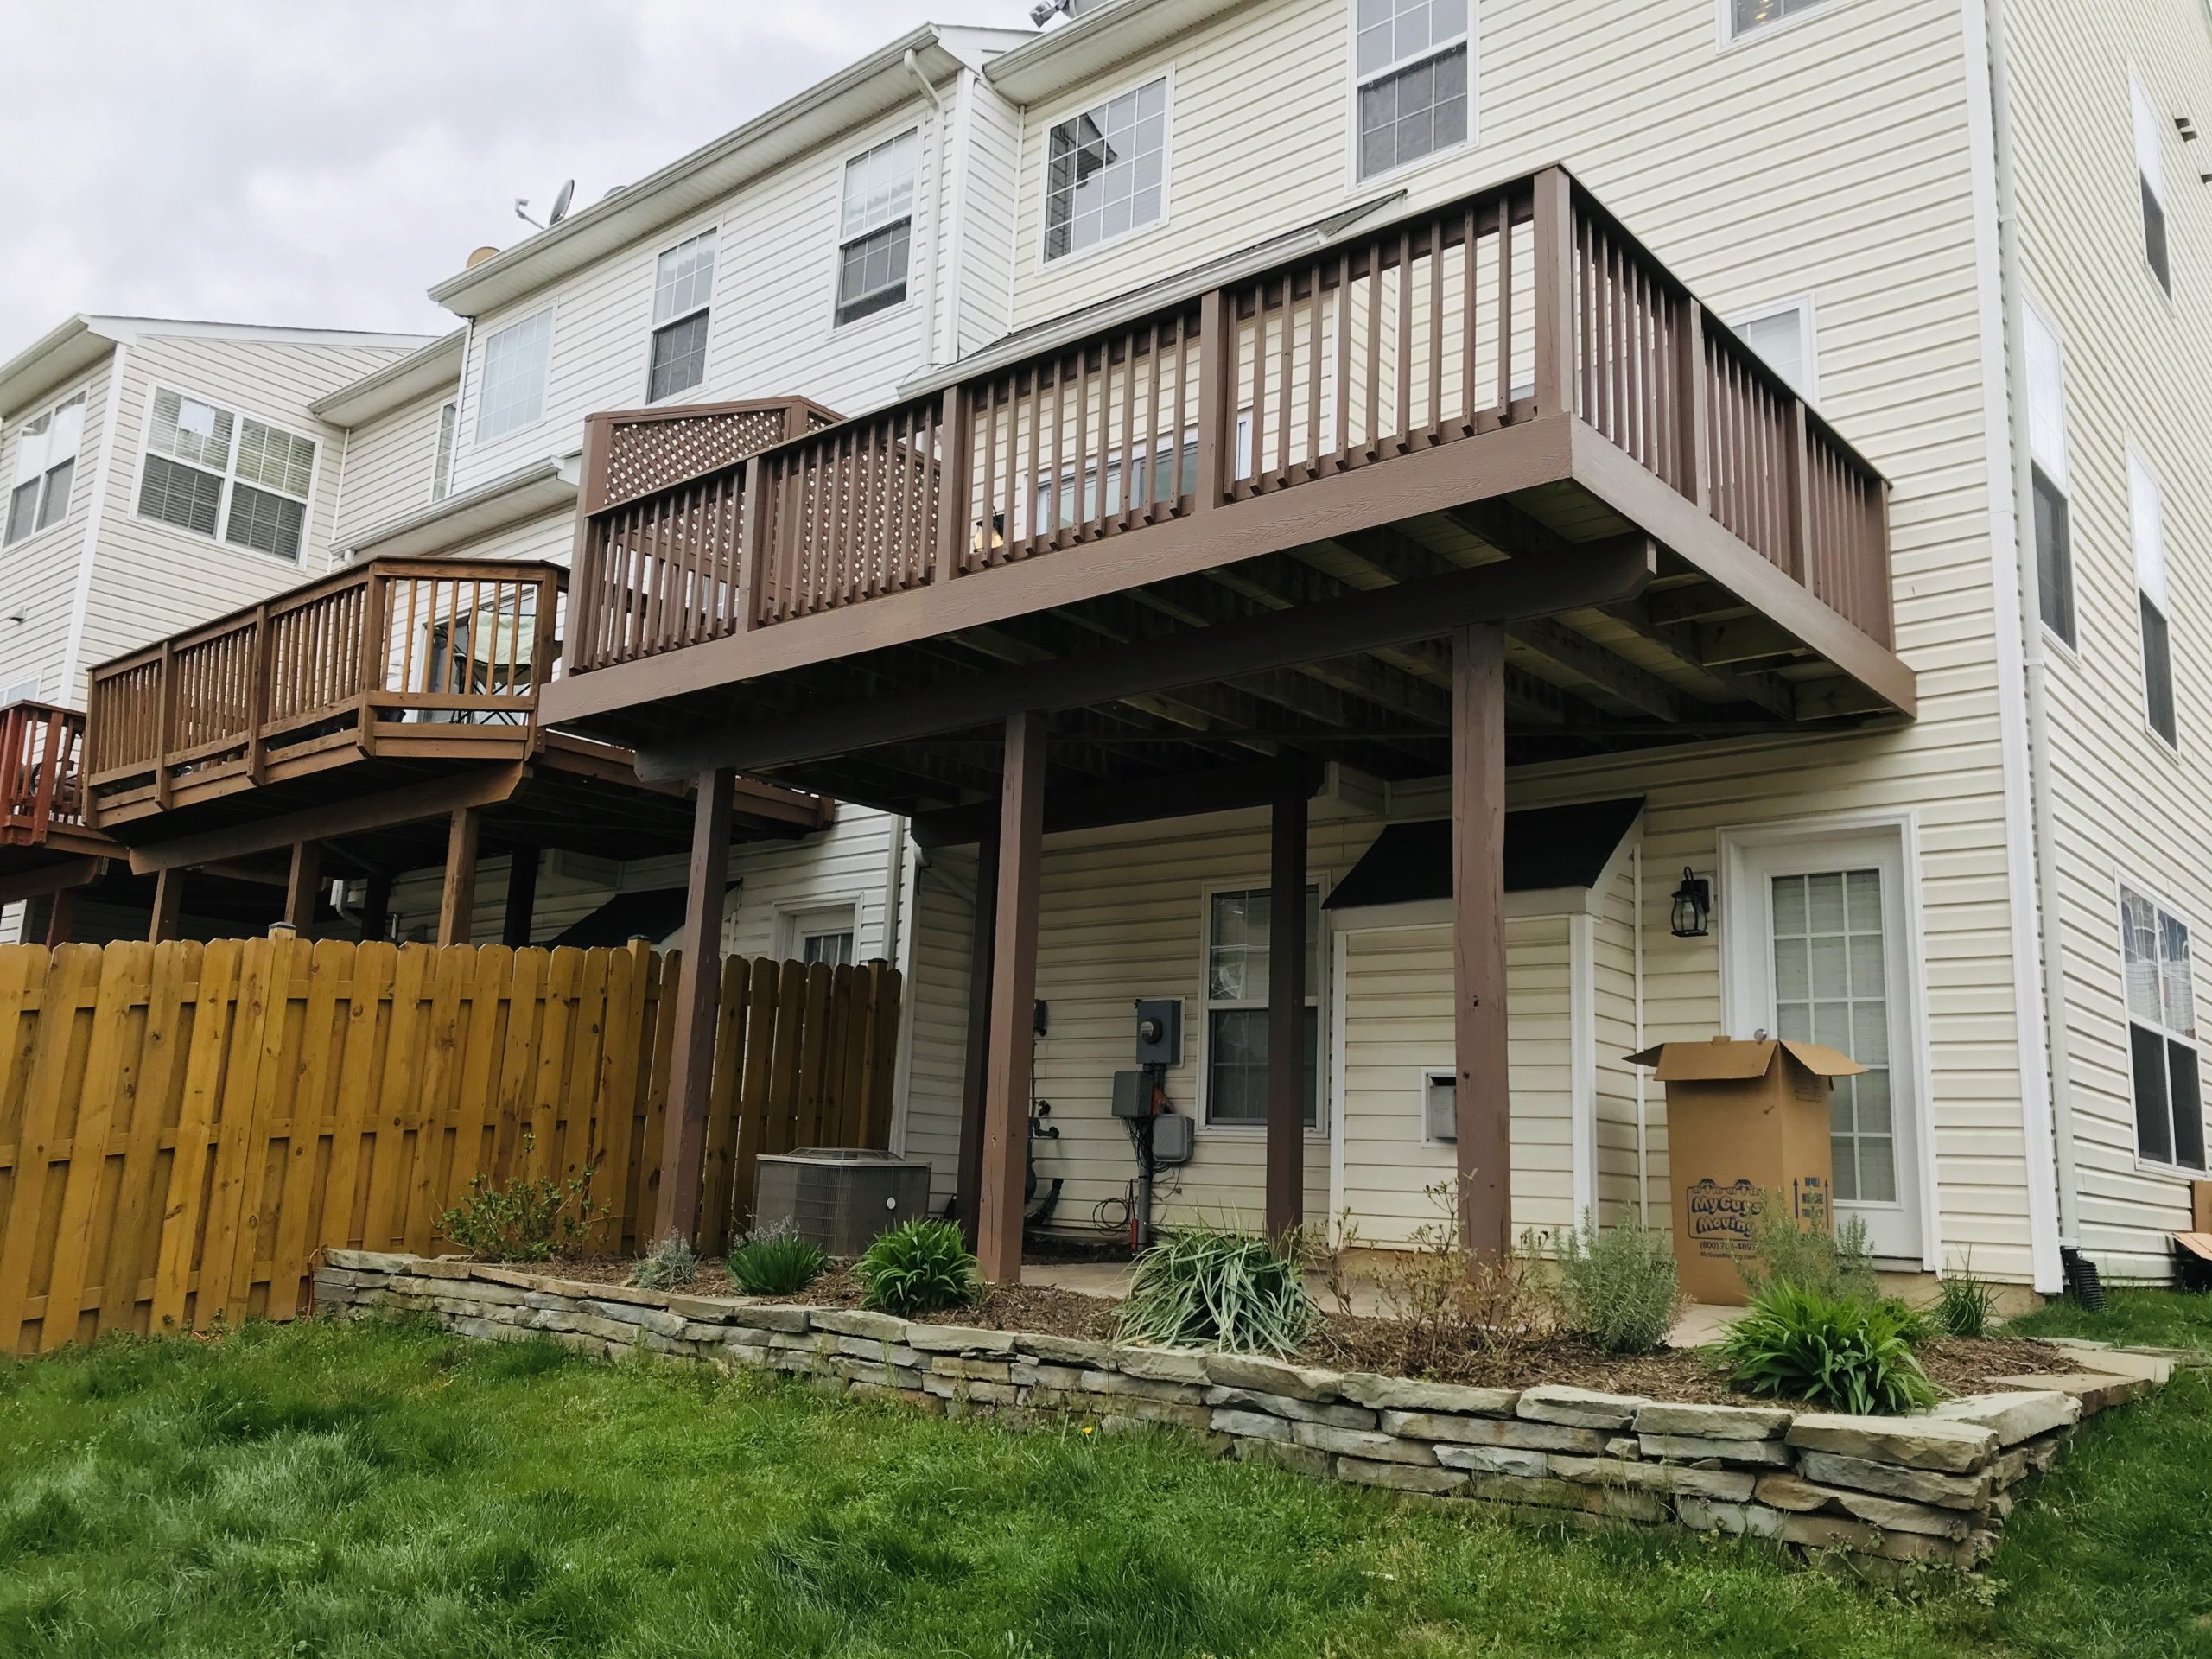
As you ready your patio furniture, you notice your deck isn’t looking its best. In fact, your deck looks tired and worn.
You could ignore your weathered deck, but it will lead to bigger issues later on. You decide the best course of action is to fix your deck.
The only issue is you don’t know how to restore a weathered deck. Fortunately, fixing your aging deck is easy.
Here’s what you need to know to restore a deck this spring or summer.
The Importance of Deck Repair in Northern Virginia
Deck restoration is an important part of your deck maintenance. The winter months, inclement weather, and unrelenting rays of the sun can cause major wear to your deck. You need to thoroughly check your deck every spring to ensure it’s safe for your and your family to use.
A quality deck with the right stain or paint should last you several years without needing any significant deck repairs. Taking the time to care for your deck now will prevent the need for a deck rebuild or major restoration in the future.
How To Restore a Weathered Deck
Have you noticed your deck is looking weathered? Regularly repairing and restoring a weathered deck will improve its longevity. It will improve your home’s curb appeal while providing reliable safety.
Learning how to restore a weathered deck is a valuable skill that nearly any homeowner can do. If for any reason, you don’t feel comfortable making deck repairs yourself, you should call a professional. Deck restoration requires some level of skill and manual labor.
Are you ready? Here’s how you can restore your weathered deck.
1. Your Tools
Like any home improvement project, you need to start by collecting your tools. To restore a deck, you’ll need:
- Hammer
- Screwdriver
- Spare screws
- Spare nails
- Electric sander
- Water hose
- Power washer
- Wood cleaner
- Paint or Stain
Depending on the level of damage on your deck, you may need to purchase and cut spare deck boards or railing parts. Inspect your deck for any significant damage to see if you need to replace any wooden features on your deck.
2. Fix and Rebuild Deck
While inspecting your deck, use your hammer or screwdriver to secure loose nails and screws. All fasteners should be flush with the wood on your deck. Check over the boards and railings to ensure they’re sturdy and strong.
Pay close attention to any deck parts such as posts and stair stringers that are close to or in contact with the ground. Check these features by lightly pressing a screwdriver into them. If the tip sinks into the wood, you have wood rot and will need to replace these items.
3. Power Wash
If possible, use a power washer to clean and refinish the surface of your deck. This will save you time on sanding and additional cleaning. You can rent one from a home improvement store or borrow one from a friend or neighbor.
Test the power washer in an inconspicuous spot to find the right pressure level. Avoid holding the nozzle too close to the wood as this can cause the water to etch into it. The right amount of pressure should remove old paint and stain, leaving the surface raw and smooth.
4. Sand Your Deck
A pressure washer won’t remove old paint, stain, and grime from every nook and cranny. You will need to use a sander to finish preparing the wood.
Try using a mix of 60 grit and 120 grit sandpapers for sanding. These should remove any remaining paint, dirt, and grime. The surface should be smooth and free from splinters.
This is one of the most manually intensive jobs. Try using a sand drum or another large sander to make the sanding process a little easier.
Are there areas of paint or stain you can’t remove? Consider using a paint stripper if you plan to stain your deck and don’t want the old paint showing through. Those who are painting their deck don’t need to worry about residual paint or stain.
5. Clean the Deck
After sanding, you’ll need to clean your deck to remove the sanding residue. If you use a heavy-duty wood cleaner, follow the manufacturer’s directions on how to properly use it.
Don’t let the wood dry while you’re cleaning it. Add water or more soap to any areas that start drying too soon. Do your best to remove residual grime, dirt, and old paint or stain.
Use a pressure washer or a hose to rinse your deck after you’ve finished cleaning. Allow the wood to dry for at least 48 hours before painting or staining.
Check out our guide for how to clean a composite deck for more inforamation.
6. Stain or Paint
Now you can seal your clean deck with a deck stain or paint.
Stain offers long-lasting color and protection while preserving the look of natural wood. It needs replacing every two to five years depending on the brand and quality.
Paint can completely transform the look of your deck. It’s great for anyone needing to cover major blemishes, old paint, or stains on your wood.
The only drawback to paint is it will start to peel, crack, and chip. You may need to repaint your deck every one to two years.
Make sure the color of whichever option you choose matches or complements the exterior of your home.
You can apply the paint or stain using traditional brushes or a sprayer, whichever option is easiest for you. Read the manufacturer’s instructions to find out how many layers of paint or stain you will need to apply.
If you’re using thick paint, use a 5-in-1 tool to clear paint from the gaps. Allow four to six hours of drying time before coats.
Once dried, your deck restoration is complete.
Where Can I Find Deck Repair Near Me?
Learning how to restore a weathered deck is a valuable skill. You’ll be able to maintain your deck year after year.
Does your deck need the help of a professional? You might be asking “where can I find deck restoration near me?”
Start by contacting us today! We have the skills and experience to repair your deck and make it look like new!


